While hemp cultivation has been around for thousands of years (with some considering it the oldest cultivated crop), it’s only recently developed a following in our modern culture. This is thanks to its legalization under the 2018 Farm Bill and the popularity of cannabidiol (CBD) products over the last several years.
Still, hemp has many uses, from textiles to paper to animal feed and so much more! With that said, it comes as no surprise many out there are wondering how to grow hemp. Throughout this article, we’re going to give you a step-by-step guide on how to properly grow hemp for commercial and private use.
1.) Planting the hemp seeds
Hemp seeds need consistent and moderate weather to grow. So, the ideal weather to plant will be late spring when the temperature ranges from 60 °F (16 °C) to 80 °F (27 °C). Moreover, you should check the temperature of the soil to make sure it is well above 50 °F (10 °C).
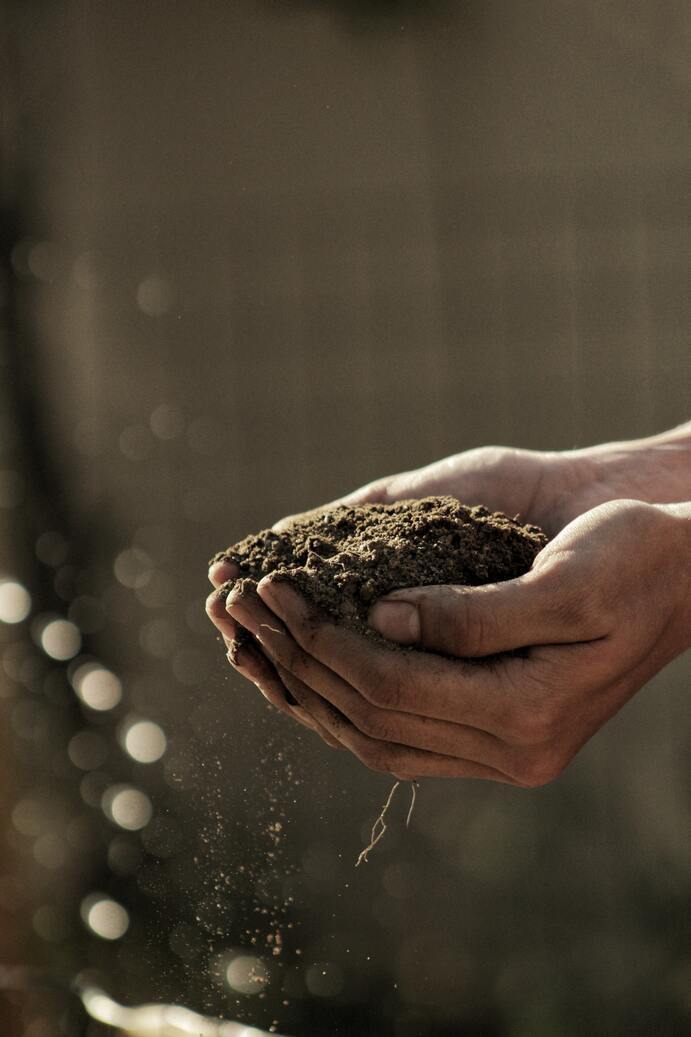
Once the temperature is right, the next step would be to check if the soil is healthy. To ascertain that, you can conduct a pH test with the paper test strips. If the pH level varies from 6 to 7.5 on the paper, the soil is healthy.
Another important point that you must consider here is that hemp grows better in soils that have proper drainage. To test the soil, dig a hole and fill it up with water. And in case the water takes more than 1 hour to drain, start looking for another location.
Now you can start putting the seeds into the soil. It’s recommended you only bury them ¾ to 1 ¼ into the soil. This is deep enough to ensure the birds and pests cannot get to them, but shallow enough so the plant has a chance to reach sunlight.
FEATURED BRAND: Crop King Seeds
If you’re on the hunt for high-quality CBD-rich seeds, Crop King Seeds has you covered.
For those who plan to garner a hemp growing license or start a CBD business, the best way to commercially cultivate is using a seed drill attached to a tractor or lawnmower. This ensures that the seeds will spread across your plot evenly while also guaranteeing they’re planted at the proper depth.
Even more so, you may want to plant your hemp differently depending on how you use it. For example, if you’re planting for fiber, you’ll want them as close together as possible. This ensures they’ll grow upwards rather than branch out. On the other hand, if you plan to grow for harvesting, it’s better to plant the seeds spread out.
If you’re growing at home for personal use, the above information remains relevant. However, keep in mind that it’s best to plant the seeds in the ground right away rather than in a pot to be transferred.
2.) How to Care for Your Crops
Throughout the growing season, you can expect to water your hemp plants 12 – 15 in (30 – 38 cm).
Water is most important for the initial six weeks of growth – so, you’ll want to take the steps to ensure your plants are getting the right hydration. The best way to do this is by sticking your finger into the soil up to the first knuckle. If it feels dry, you should water the hemp until the soil is damp 1 – 2 in (2.5 – 5.1 cm) deep.
After the initial six weeks, hemp becomes drought resistant and can survive without water for a number of days. Still, you should always ensure your plants are receiving the right amount of water. For large-scale cultivation, the best way to do so is through an irrigation system.
From there, you’ll want to focus on fertilizer – preferably using one that’s nitrogen-rich. It’s best to apply these on warm, dry days so that the fertilizer does not stick to your plants.
Fertilizer should always be placed between your rows of hemp rather than directly on the plant. Furthermore, it’s best to water immediately after you fertilize.
You can also spray a pre-emergent herbicide once it germinates. This helps protect it from foreign attackers – though, hemp is very efficient at killing weeds attempting to grow.
3.) Harvesting the fibers
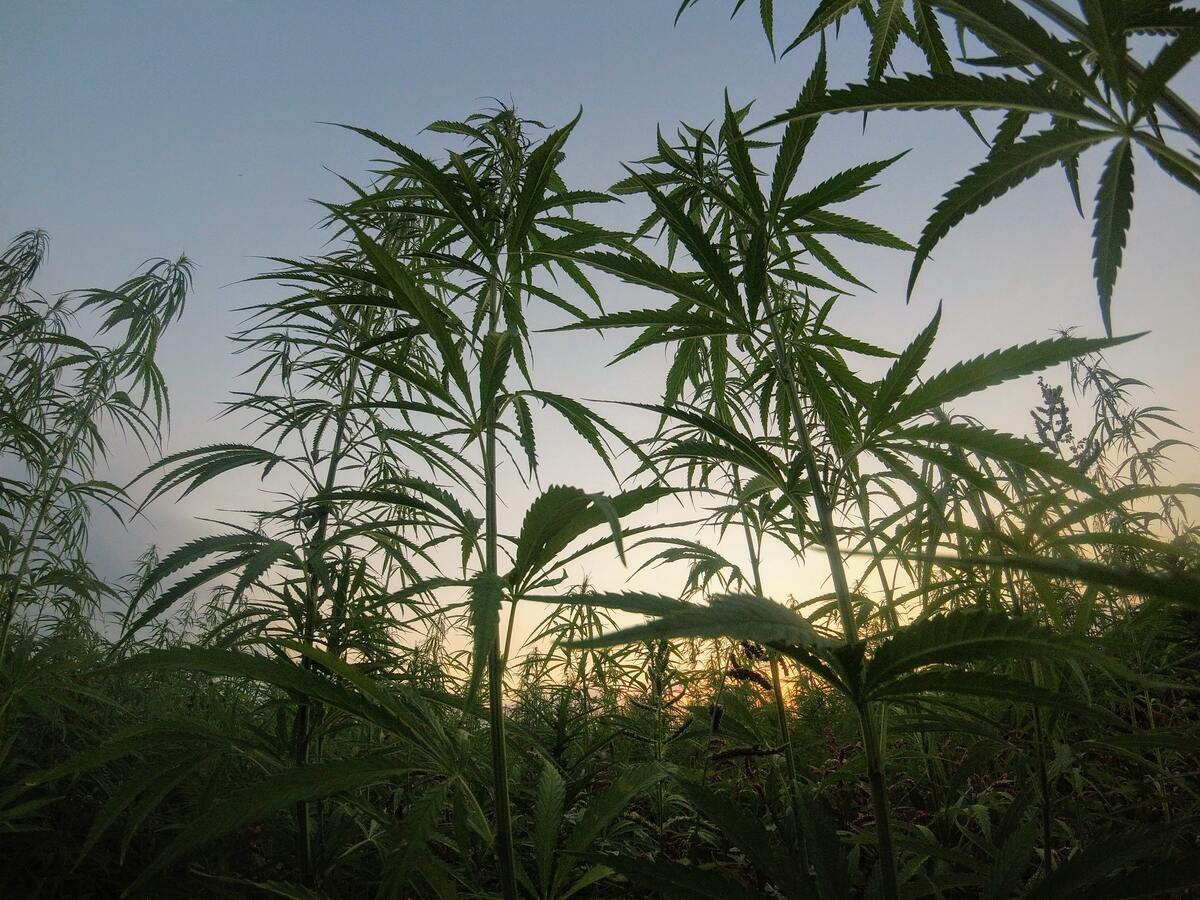
As soon as you notice hemp seeds forming, you’ll want to collect the stalks with a sickle. Naturally, you’ll want to cut them as close to the ground as possible in order to garner the most fiber.
For smaller crops, a handheld sickle does the job smoothly when used in a back and forth motion. However, if you have larger crops, you’ll want to either purchase or rent a sickle-bar attachment for your tractor.
FEATURED BRAND: ILoveGrowingMarijuana
For more deals concerning high-CBD or high-THC cannabis seeds, check out ILoveGrowingMarijuana!
Redeem code THXFROMROBERT$ for $10 Off ILGM Coupon
Once all your stalks are cut, you’ll want to pile them on top of each other and leave them there for 5 weeks. This will allow microbes and moisture to separate the bonds that hold these stalks together. Keep in mind that piling them helps prevent rotting. Furthermore, it’s important not to let the outside temperature decrease below 41 °F (5 °C) or exceed 104 °F (40 °C).
After the 5 weeks, you’ll want to stand the stalks up on end in order to allow them to dry out. Keep them in a cool, dry area until moisture levels are at 15% which you can determine using a moisture meter. Once at 15%, you’ll want to use a decorticator to break off the exterior pieces of the stalk.
4.) Collecting hemp seeds
If you’ve followed this step-by-step guide up until now, it’s likely most of the hemp leaves along with some hemp seeds have fallen off the stalk. Be sure to collect those seeds. And for those that haven’t fallen, you can simply use a sickle to collect them – cutting directly under the lowest seed pod.
With the broken-off pods, you break off the seeds by hitting them with a hard object, such as a baseball bat. You’ll preferably want to do this over a tarp in order to catch all the seeds that will inevitably fall.
From there, you’ll want to winnow the seeds in order to remove any residue. Place them into a bucket that’s sitting above an empty bucket. By tossing the seeds between buckets (about 6 to 10 times), you’ll clean them of any residue left behind by the stem.
It’s preferable to do this process when there’s a breeze in the area. If you don’t have one, we recommend using a fan. If you’re working on a large scale, you can also use an industrial winnower.
Once your seeds are clean, you’ll want to keep them stored in a cool area – between 32 °F to 40 °F (0 °C to 4 °C). They should be stored in a large container with a sealed lid (you can also use a burlap sack). The best place to store hemp seeds is in a large fridge in order to keep them from germinating.
Final Word
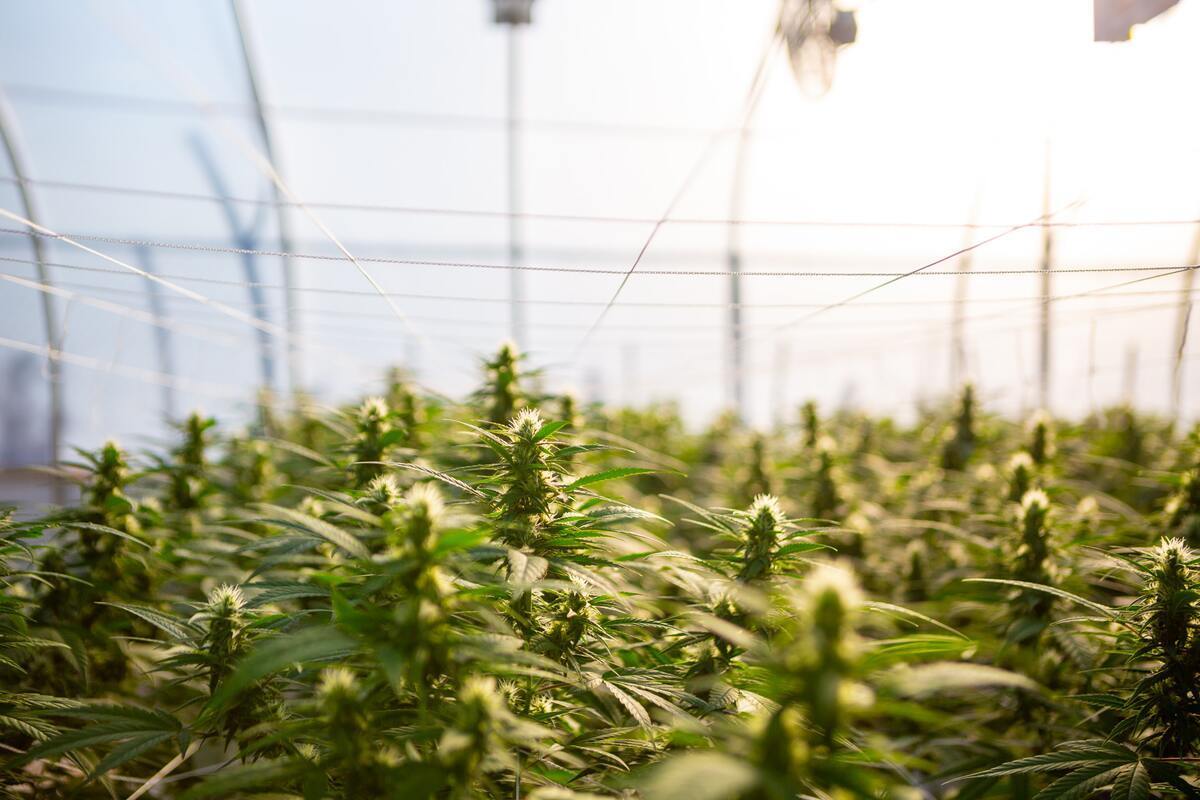
If you’re wondering how to grow hemp in a greenhouse, the process is ultimately the same – though you’ll have much more control over environmental factors. We made sure to highlight important specs throughout this article to ensure you’re aware of those specs.
As mentioned, hemp can be used in a variety of different manners. Currently, one of the most popular is extracting it for CBD and other cannabinoids.
If you’re interested in learning how to extract CBD, we invite you to check out our guide.
Paul James is a seasoned cannabis and CBD writer and expert. He is a mental health blogger who advocates CBD as a natural alternative to prescription medications. You can read more about this and other natural alternatives on his blog: https://bedlamite.co/."
Frequently Asked Questions
On average, the hemp plant is ready to harvest 14 to 16 weeks after planting.
If you want to grow hemp on an industrial level, you’ll have to apply to the USDA production program. More specifically, you’ll want to create a Hemp eManagement Platform (HeMP) and submit a USDA Hemp Application through there.
As long as your hemp plant contains less than 0.3% THC, it’s federally legal to grow in the United States. However, if you plan to grow hemp for commercial purposes, you’ll need to obtain the proper licenses.